Skip to main contentProducts Page
The Products page is your central hub for managing product content and accessing AI generation features.
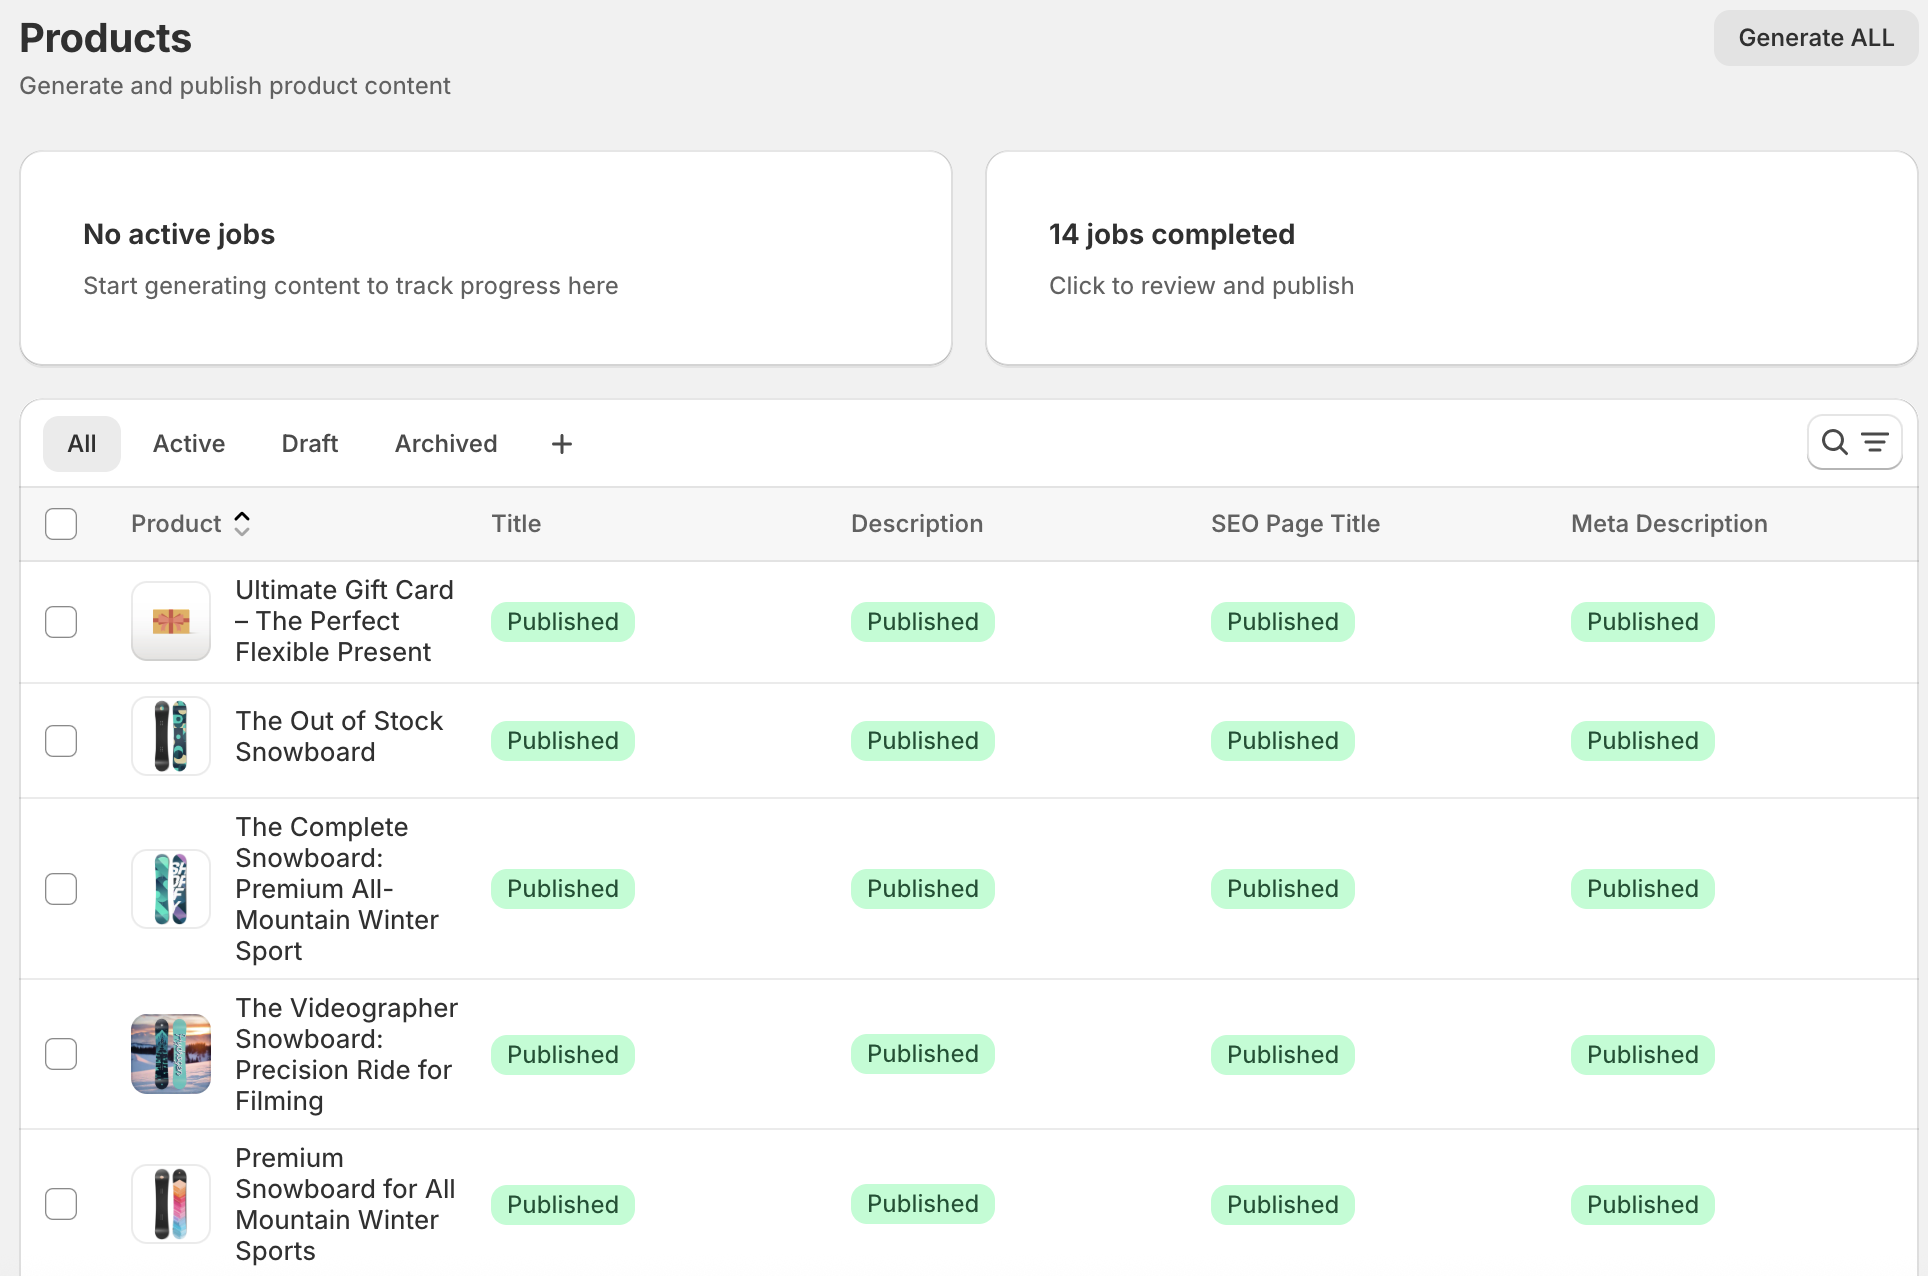
Bulk Actions and Selection
Work with multiple products simultaneously:
- Once products are selected, bulk action buttons appear:
- Generate Content: Start bulk generation for selected products
Product Editor
The product editor is where you generate and manage content for individual products.

Accessing Individual Products
Open the product editor by:
- Clicking any product row in the Products page
- Using direct links from Jobs or Logs pages
- Navigating with previous/next buttons when available
This section contains:
- Product Title: View and generate product titles
- Product Description: View and generate descriptions with rich text editing
- Generate Buttons: One-click generation for each field
- Protected Content: Mark important text to preserve during regeneration
Search Engine Listing Section
Optimize for search engines:
- Product Title: Generate search-optimized product title (with SEO scoring on Pro)
- Product Description: Create search-optimized discription (with SEO scoring on Pro)
- SEO Page Title: Create search-optimized titles (with SEO scoring on Pro)
- Meta Description: Generate compelling meta descriptions (with SEO scoring on Pro)
AI Content Generation
Single Product Generation
Generate high-quality content for individual products with full control and preview capabilities.
Generating Product Descriptions
- Click “Generate” next to the Product Description field
- AI creates a comprehensive description based on:
- Product title
- Tags and collections
- Categories
- Variant information (if included)
- Custom instructions (if selected)
- Preview in the rich text editor
- Edit if needed before saving
- Use protected content to preserve key information
Using Protected Content
Protected content lets you preserve important text during regeneration:
- Highlight text in the description editor
- Click the “Lock” icon to protect it
- Protected sections appear with a special indicator
- When you regenerate, AI preserves protected content
- Remove protection anytime by clicking the lock icon again
Use Cases for Protected Content:
- Legal disclaimers
- Warranty information
- Brand-specific terminology
- Technical specifications you don’t want changed
- Promotional offers
Generating SEO Page Titles
- Scroll to the Search Engine Listing section
- Click “Generate” next to Page Title
- AI creates an SEO-optimized title
- Review the title and SEO score (Pro plan)
- Check AI suggestions for improvements
- Accept or modify the generated title
- Click “Generate” next to Meta Description
- AI crafts a compelling, search-optimized description
- Review SEO score and suggestions (Pro plan)
- Preview how it appears in search results
- Accept or customize before saving
Content Generation Settings
Configure context and options to improve AI generation quality.
Accessing Content Settings
On the product editor page:
- Look for the “Content Generation Settings” card at the top
- Expand it to view all options
- Changes apply to all generations for this product
Context Selection
Help the AI understand your product better by providing context:
Selecting Relevant Tags:
- All product tags are displayed as checkboxes
- Select tags that describe the product
- Examples: “organic”, “luxury”, “bestseller”, “new-arrival”
- AI incorporates tag information into generated content
- More relevant tags = better content
Selecting Collections:
- View all collections this product belongs to
- Select which collections to emphasize in content
- Examples: “Summer Collection”, “Sale Items”, “Premium Line”
- AI uses collection context for positioning
Selecting Categories:
- Product categories are shown as checkboxes
- Select relevant categories for context
- Examples: “Electronics”, “Apparel”, “Home & Garden”
- Helps AI understand the product type and audience
Including Variant Information:
- Toggle “Include variant information” checkbox
- When enabled, AI considers product variants (sizes, colors, materials)
- Generates more detailed descriptions
- Useful for products with multiple options
- Example: “Available in small, medium, and large”
Bulk Generation
Generate content for dozens or hundreds of products simultaneously with the bulk generation feature.
Starting a Bulk Generation
- Go to the Products page
- Select products using checkboxes (or select all)
- Click “Generate Content” button that appears
- The bulk generation modal opens
- Configure your bulk generation settings
- Click “Start Generation”
Choosing Content Field
Select which content type to generate:
- Product Title: Generate titles for all selected products
- Product Description: Create descriptions for all products
- SEO Page Title: Generate optimized page titles
- Meta Description: Create meta descriptions
- Image Alt Text: Generate alt text for product images
You can only generate one field type per bulk job.
Selecting Custom Instruction Templates
Maintain consistency across bulk generations:
- In the bulk modal, find the “Custom Instruction” dropdown
- Select “Use default template” or choose a custom instruction
- Only instructions matching your selected field type appear
- AI applies the same instruction to all products
- Ensures uniform brand voice across the batch
Best Practices for Bulk Generation
- Start with small batches (10-20 products) to verify quality
- Use custom instructions for consistency
- Set publishing strategy to “Review before publish” initially
- Monitor the first few results before processing the entire catalog
- Group similar products for better AI results
- Use filters to select products by type or collection
Protected Content
Protected content is a powerful feature that lets you preserve important information while regenerating product descriptions.
What is Protected Content?
Protected content allows you to mark specific text segments in your product description that should never be modified by AI regeneration. This is essential for preserving:
- Legal disclaimers and warnings
- Warranty and return policy information
- Technical specifications that must remain exact
- Brand-specific messaging or slogans
- Promotional offers or pricing information
- Compliance-related text
How to Mark Text as Protected
- Open a product in the editor
- In the Product Description field, highlight the text you want to protect
- Click the “Lock” icon in the rich text editor toolbar
- The text is now marked as protected (indicated visually)
- Protected content remains intact during AI regeneration
When to Use Protection
Use protected content when:
- Including legal disclaimers required by regulations
- Preserving exact technical specifications
- Maintaining warranty or return policy text
- Keeping special promotional messaging
- Retaining brand slogans or taglines
- Ensuring consistency in multi-language stores
Tips for Using Protected Content
- Mark content before generating, not after
- Don’t over-protect - let AI do its work
- Review protected content periodically for relevance
- Use sparingly for best results
- Update protected content when policies change